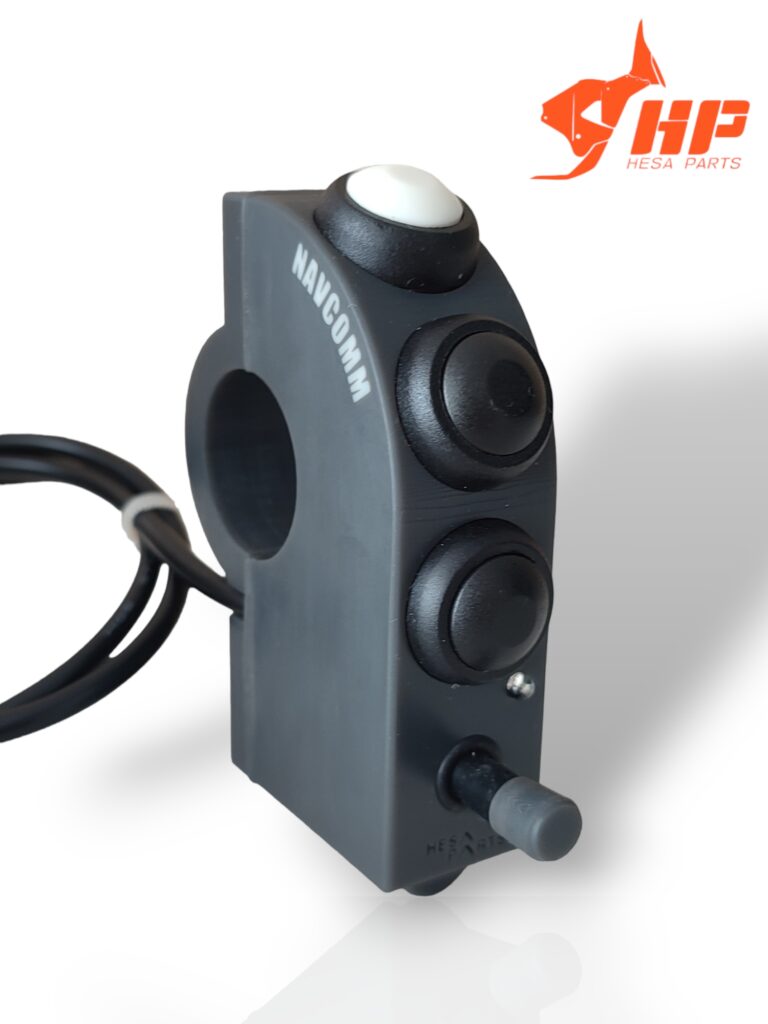
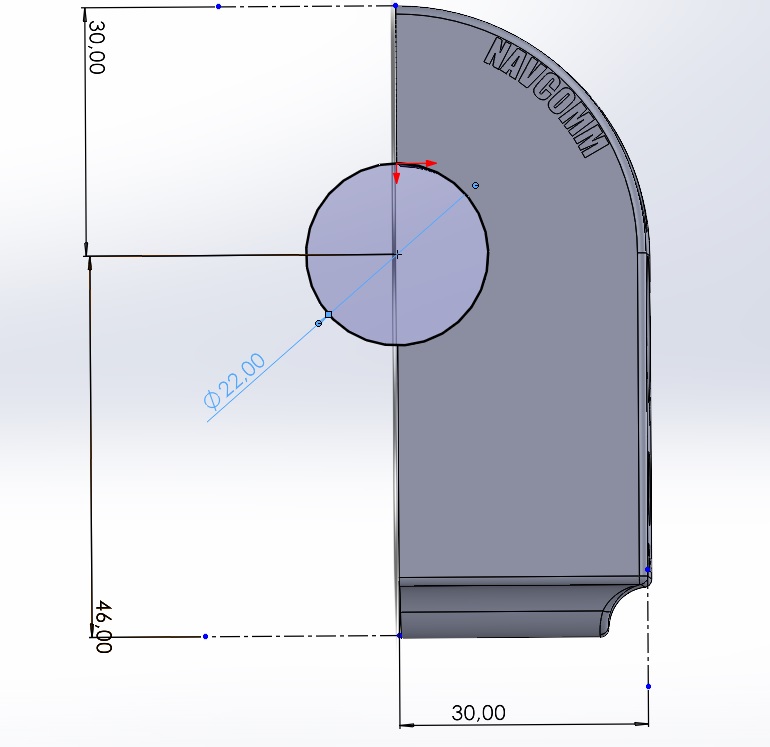
NAVCOMM is designed for installation on standard 22mm handlebars.
You must create an adequate space (minimum 21mm) between the grip and the pineapple of your motorcycle
Depending on your driving style (standing or sitting) rotate the NAVCOMM until find a comfortable position to access all controls
Use the provided flange and the two M4 screws for fixing the NAVCOMM to the handlebars. Requires a 2.5mm allen key (not provided)
Position the power cable correctly, passing it along with the cables from the original pineapple. Replace the clamps that hold the handlebars.
Make sure the power connection is made to a keyed outlet. contact. Never carry out the installation directly to the battery. In the case of performing the USB connection, make sure that the power of the USB socket is properly connected to a power outlet with ignition key.
NAVCOMM has 3 modes of use. The current mode is easily recognizable by the color of the led. The colors are the following: 1. CYAN __________ Mode 1 ______________ DMD2 2. BLUE __________ Mode 2 ______________ NAVIGATION GPS 3. RED__________ Mode 3 ______________ ROADBOOK / MUSIC
When starting NAVCOMM it is always in mode 1.
To change the mode, simply press the button (1) for a few seconds until the led remains fixed, indicating the new mode with the color.
Being in mode 3, when changing modes the cycle becomes mode 1. In normal operation, NAVCOMM will always flash slowly indicating the current mode.
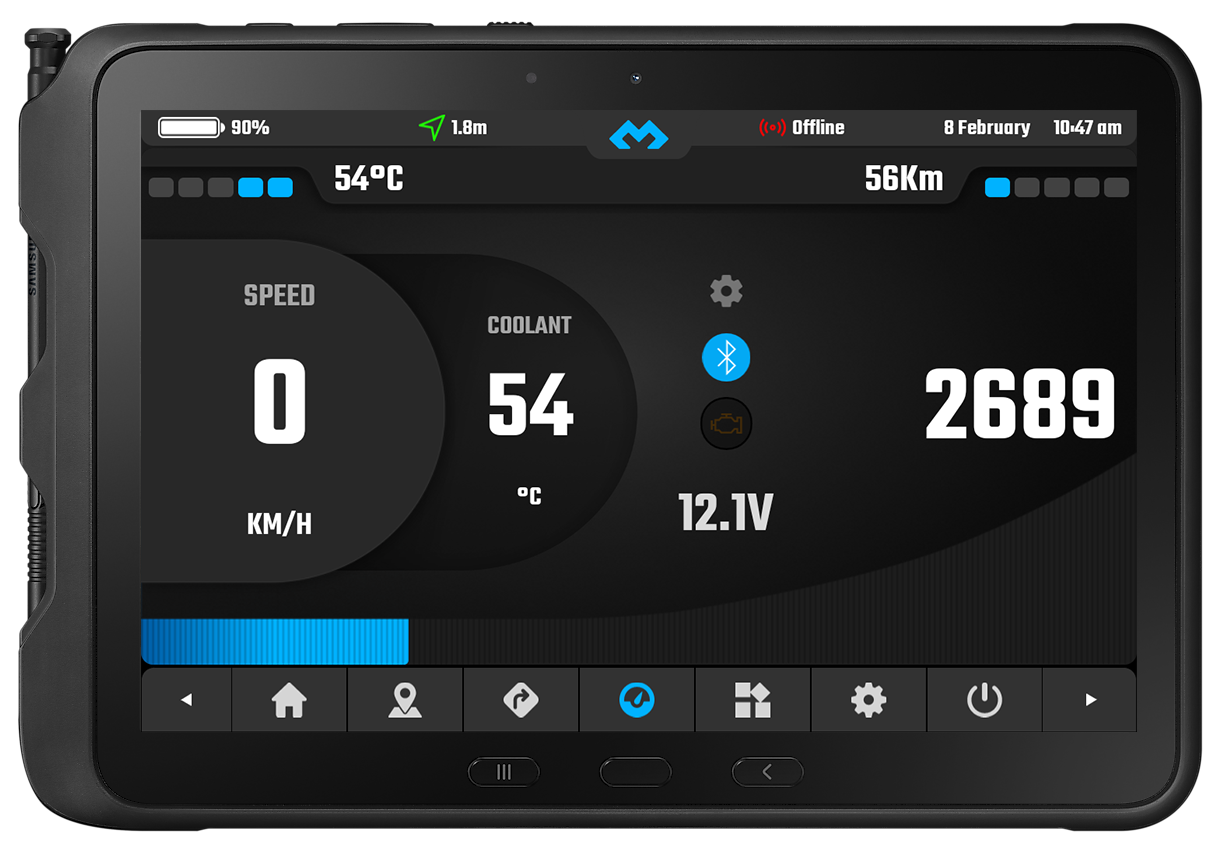
Mode 1 _________ DMD2 (LED cyan)
With the Directional Joystick (4), we can move across the screen up, down, left and right.
By pressing the color button (1), we select the option that is active in that moment
Keeping the color button (1) pressed, we change from the lower menu to the control screen and vice versa
Buttons (2) and (3) are special functions that will only work in certain active system screens or applications. For example, in Roadbook mode, with With these buttons we will add or subtract meters in the trip. In GPS mode, we will zoom + and zoom –
The color button (1) may also have some special function in certain cases
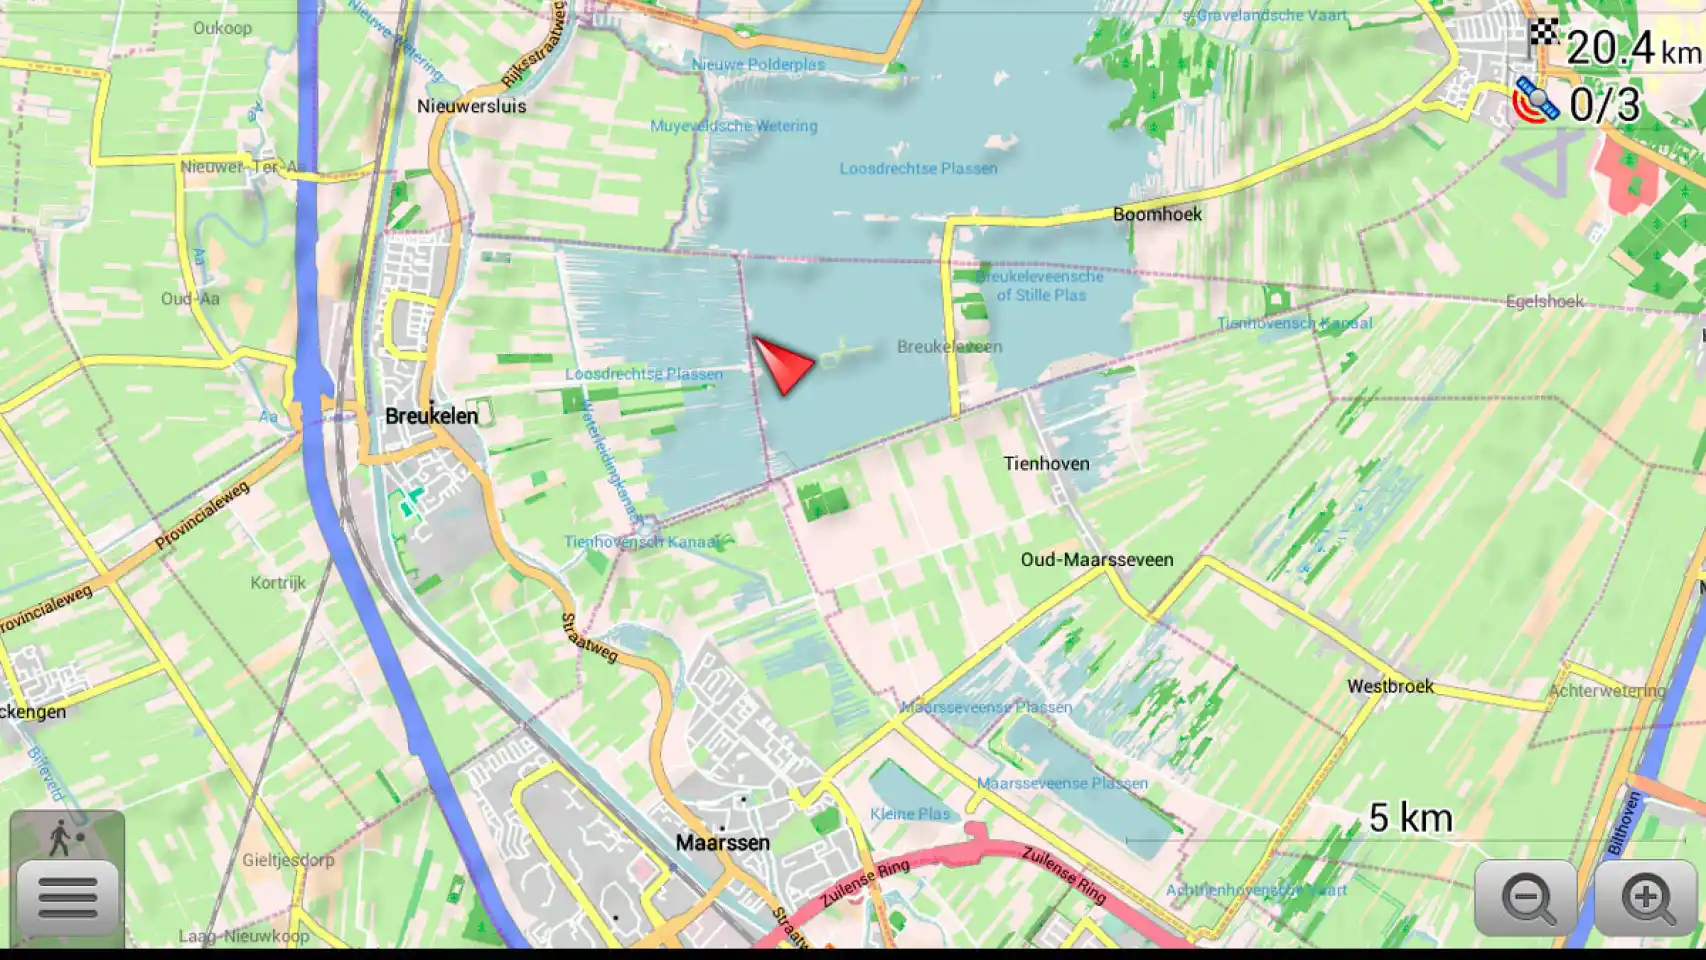
Mode 2 __________ NAVIGATION GPS (Blue LED)
NAVCOMM is optimized to work with OSMAND. However, he is able to maintain the main functions such as moving the map and zooming in most of apps currently in use
With the directional joystick (4) we will move the map in the 4 directions. leaving the lever pressed, a fast constant movement will be made
By pressing the joystick (4) inwards, we will center the map on the current position
With the buttons (2) and (3) we will zoom + and zoom – respectively The color button (1) changes the orientation of the map
Mode 3 ___________ROADBOOK / MUSIC (Red LED)
To simplify the operation of NAVCOMM, the Roadbook and Music functions are have been unified in the same way… which greatly simplifies the system operation and avoids having to remember cumbersome menus and options music app
Joystick (4) up or down we go to the next or previous song Joystick (4) in, play / pause Button (2) and (3) volume up and down
Roadbook Apps
In most applications, the controls to control the roadbook will be the same. following:
Joystick (4) up or down, raises or lowers the roadbook (pdf up or down)
Button (2) and (3) raise and lower the meters of the trip. However, more complete and configurable applications, the previous controls are.
You can add the following functions:
Color button (1) Resets the trip Joystick (4) right or left, adds or subtracts meters on trip 2 (configurable)